| |
Loss of the Ship
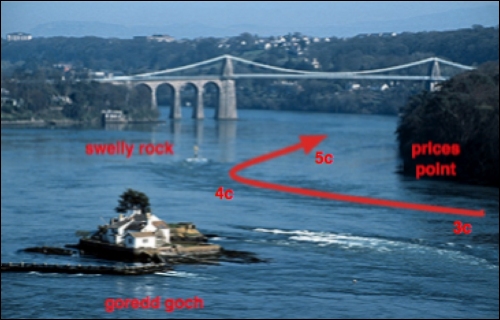
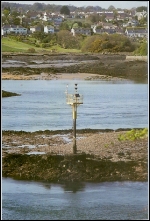
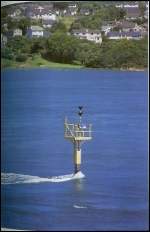
8. PRICE'S POINT & SWELLY ROCK

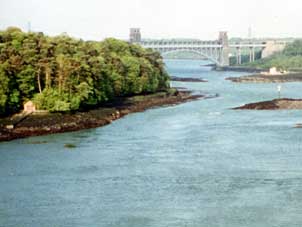
Having cleared Price's Point (point 4c
on the chart), a sharp alteration to starboard (the right) would bring
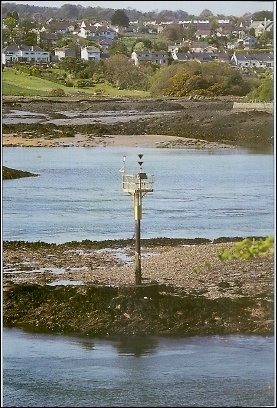
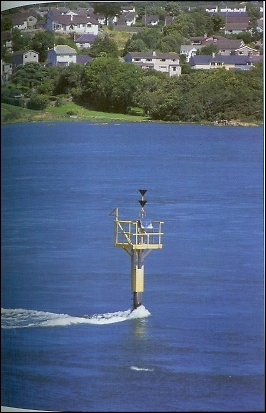
them into the constricted Swelly Passage between Swelly Rock marked
by a large beacon, and the Gwynedd shore. These recent photos indicate
what was involved and show the channel to be transited.

The narrowing channel funnels and greatly
accelerates the speed of the contrary stream. Captain Hewitt told the
Inquiry that he knew that this next section "was where the tide
always runs the most strongly"[4]. The stream was already
much stronger than expected and their speed was decreasing as it accelerated
against them. Swelly Rock Beacon is approximately the halfway point
between the two bridges, but they had already used all their planned
time for the whole transit.

|
|
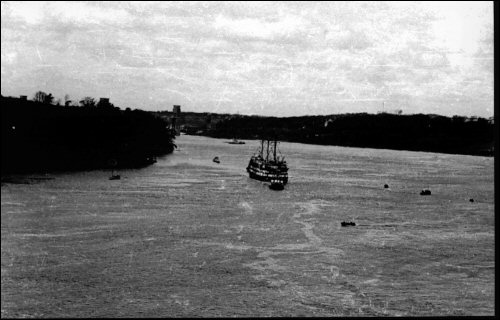
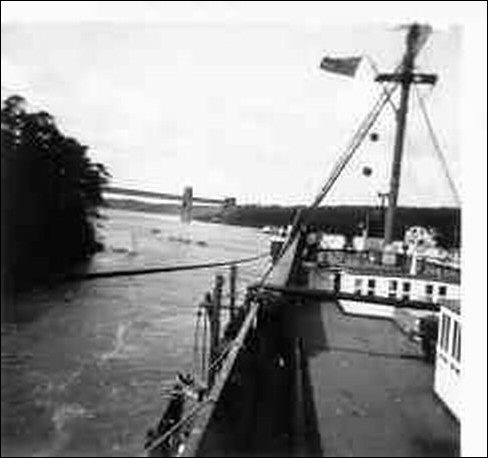
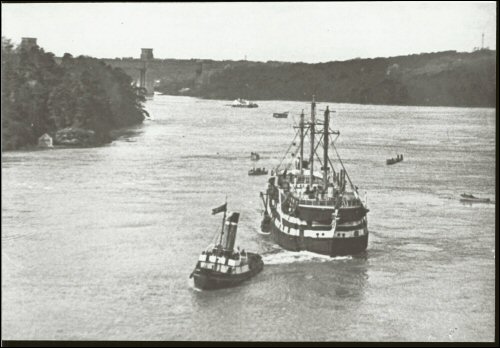
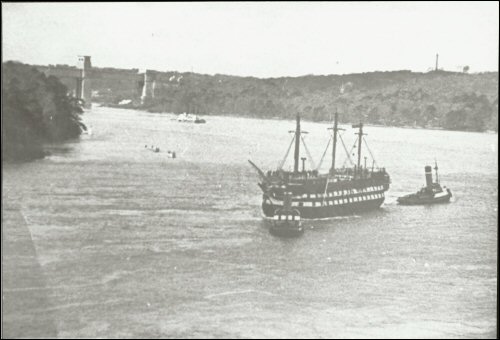
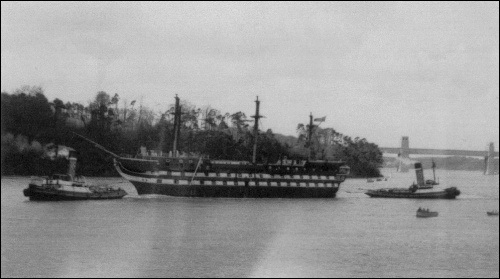
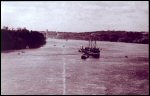
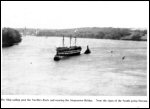
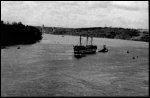
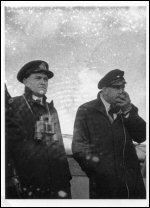
The crowds waiting on
the Suspension Bridge would now have had their first view of the
ship. She would have been head on to them as shown in the first
photo. |
|
|
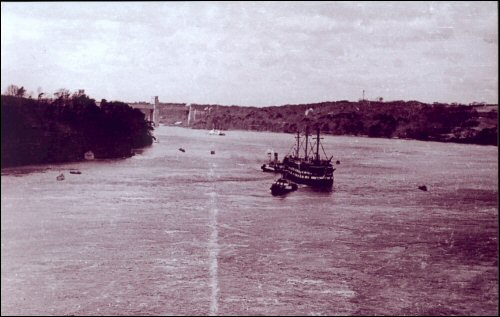
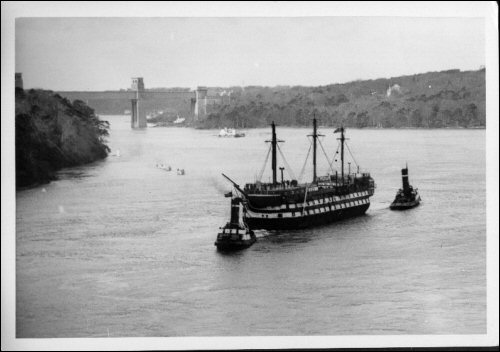
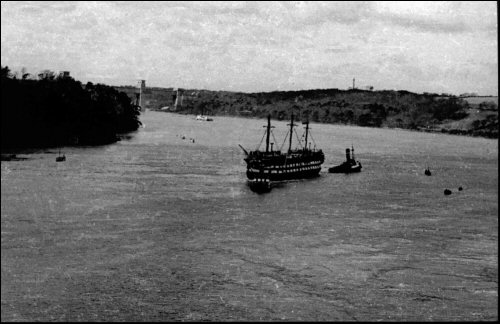
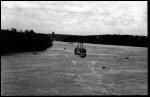
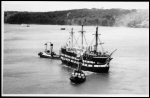
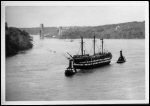
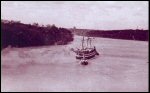
The stern tug had now
to ease Conway's stern towards the Anglesey shore (the right in
the photos). The forward tug had to ease her bows around (to the
left in the photos) to line her up to pass between Swelly Rock
and Price's Point while towing her forward through point 5c on
the chart.
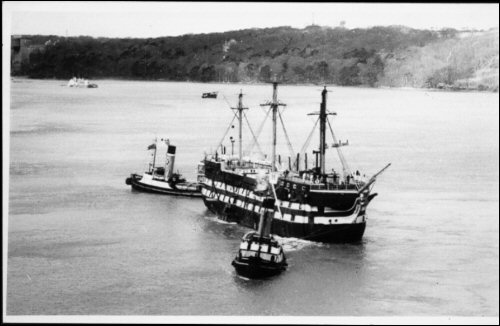
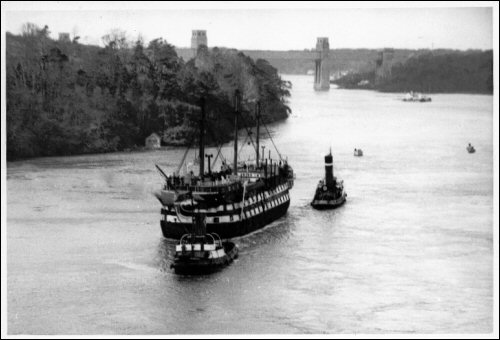
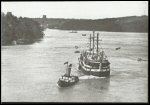
Local photographer Norman Murcott of
Llangefni Camera Club was on the Suspension Bridge. This manoeuvre
can be seen clearly in many of his photos as the ship gradually
turns to the left. He had photographed the ship on many occasions
and his photos and postcards sold well to cadets and tourists.
We are extremely grateful for his permission to use this excellent
series of images as well as the many others who contributed many
of the images on this page.
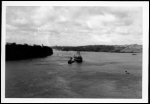
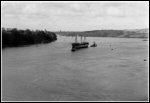
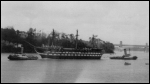
Conway's small boats and the Menai
Pilot Boat can be seen in several of the photos. |
 |
|
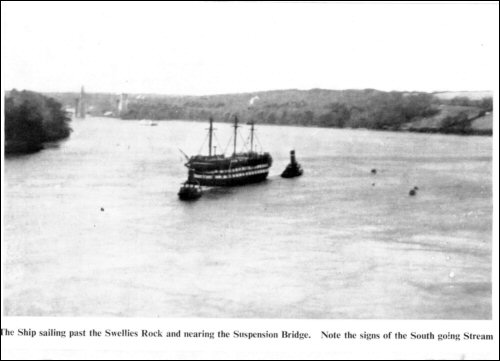
When Swelly Rock was abeam
the wind strengthened and changed direction. (The ship was coming
more into the influence of the wind outside at sea). The Inquiry[4]
records a range of opinions. Pilot Jones thought it NE force 2-3,
most others agreed it was NW. Captain McManus in his evaluation[1]
using cine film shot at the time estimated the wind to be Northerly
force 5. Captain King[7] on board thought it from the
NNW, "quite blustery and gusty". But away from the shelter
of the Strait the wind at sea was a lot stronger.[TwoBdge-7)]
This was the worst possible wind as it was piling water out of the
Irish Sea into the northeastern entrance of the Strait, reinforcing
the southwest-going stream. |
|
|
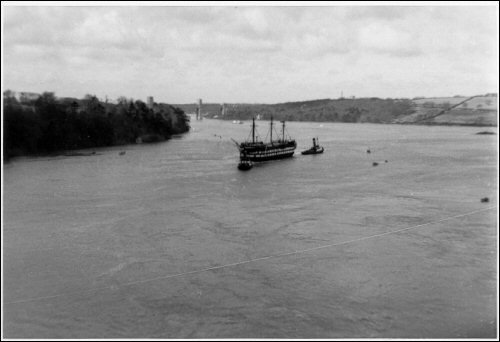
Captain Durrant, on the
very centre of the Suspension bridge, observed the scene: "at
9.40 am looking from the suspension bridge, the tow was practically
stationary, with the forward tug, Dongarth, towing at full speed
against the stream but making no progress. In this situation,
apart from minor tacks to port or starboard, Conway continued
stationary head to tide, but edging gradually towards the Caernarvonshire
side under the pressure of the strong north westerly wind against
her port side. Careful observation of the rate of passage of floating
kelp borne on the tide, which already appeared to have the character
of a race, indicated a rate of at least 8 to 10 knots."[5]. |
|
|
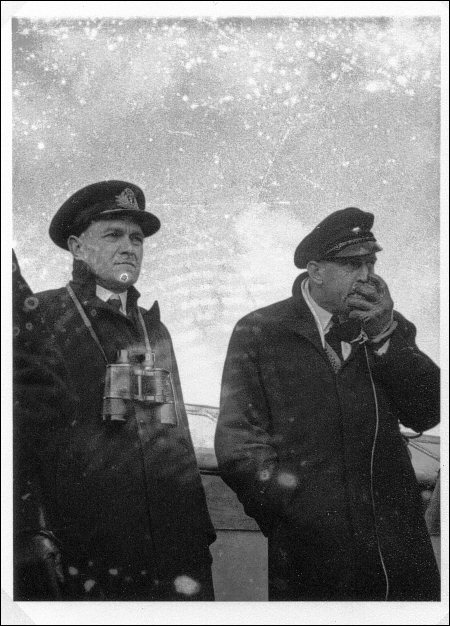
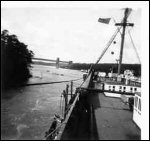
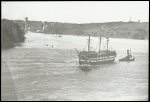
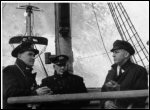
Pilot Jones (in the centre
of the three)aboard Conway asked for more power[1]
and again advised Captain Hewitt to go back. This advice was again
rejected[1]. At the Inquiry Captain Durrant, Captain
Duff and the two tug-masters all agreed that under the prevailing
conditions such action would have been impossible[4].
Their views were not disputed by the Inquiry although it was in
exactly this way and on the same sort of tide that she had been
brought through in 1949 with the same tugs, tug skippers and pilots.
She would have been stern first, but that would have been of little
account to a 'dead' tow and with both tugs stern-on to the ship.
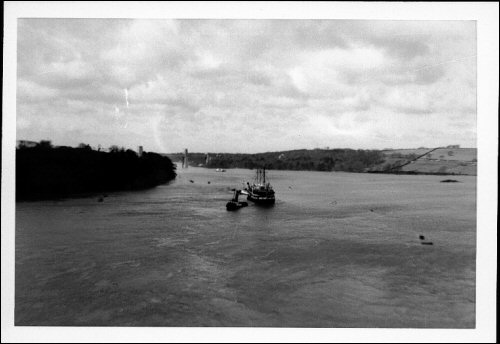
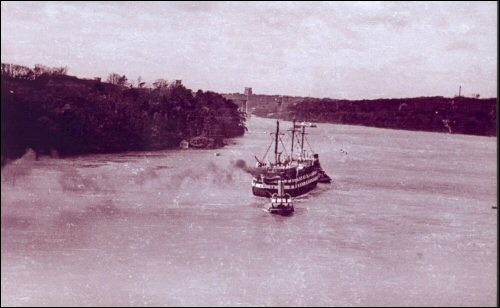
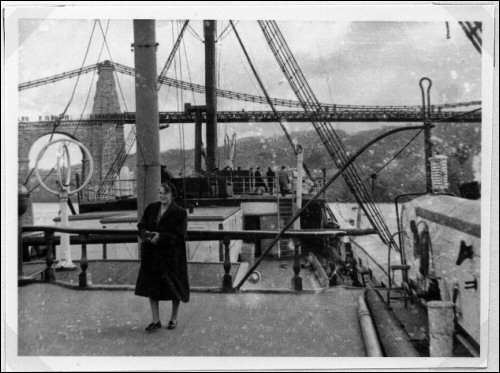
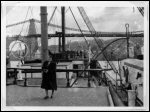
They can be
seen on the Foredeck in the last 3 photos whilst the Captain's
wife walks towards the stern on the Poop.
Captain Hewitt observed "She was
not going very fast but appeared to be making headway" [15].
Very slowly Swelly Rock was cleared. It was approximately 9.45
am. |
--Previous Section | Introduction
| Next Section --
|
|