|
Loss of the Ship 7. CHEESE ROCK TO PRICE'S POINT
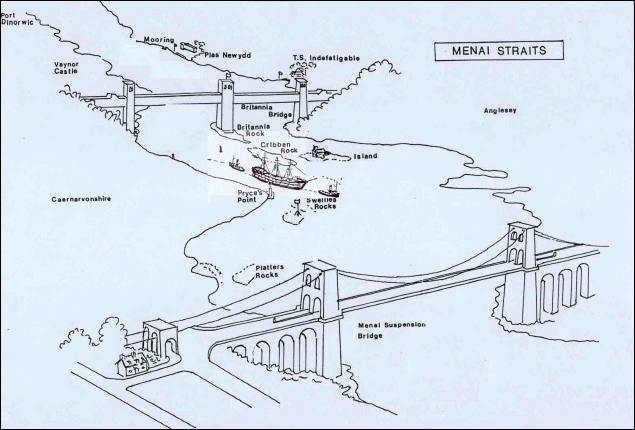
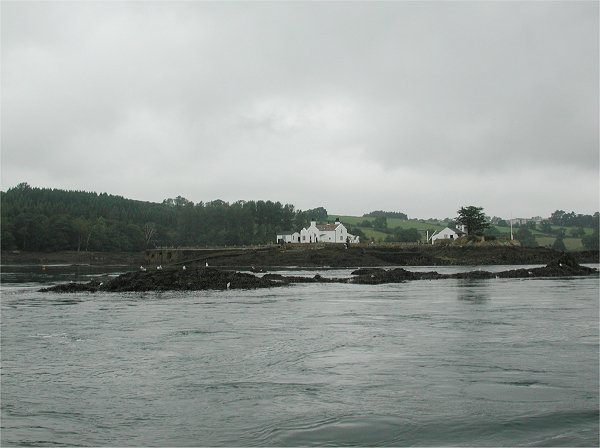
They were at point 1c on the chart and now had to transit the narrow channel called Cribben Gutter to point 3c approaching Price's Point. The heavily wooded Gwynedd shore was on their right, Cribben Rock on their left and beyond that Gored Goch island. Captain Hewitt had laid special buoys to guide the tow through this very narrow channel.[see photo Williams page 6] The danger can be seen very clearly in the following modern photos taken a few hours before high water. In the second photo the tips of the rock can just be seen although when Conway passed through they would have been completely submerged and not visible. The channel was in the narrow space between the rocks and the shore to the right.
The forrad tug had completed the slight change of course and was now on the ships' port (left) bow. The photo below shows the tug with Gorred Goch Island in the distance.
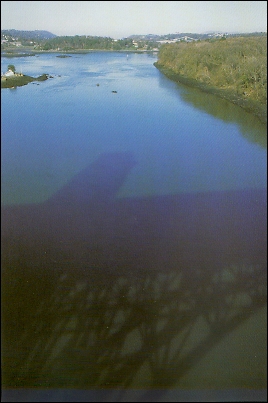
Communications with the forward tug were working smoothly and Conway was aligned on the two diamond shapes placed by Captain Hewitt for the purpose on the distant Anglesey shore (one actually on Church Island)[8]. The channel is actually permanently defined by two transit beacons under Britannia Bridge but which would have been astern. Captain Hewitt evidently saw the wisdom in aligning his own marks with these which were more easily followed ahead of the ship.[14] The narrowness of the channel; at his point is clearly shown in the next two photos. Very close aboard to their right were the wooded slopes of the Gwynedd shore.[7] Price's Point was drawing closer as the first photo shows.   On their left Captain Hewitt's marker buoys by Cribben Rock sat perfectly upright, but almost as soon as the were passed spectators on the bank said they began to tilt - the direction of the stream was reversing[8]. This supports the party line that the 'tide turned' earlier than expected.[4] Against a stronger than expected stream the tug made very slow headway. Dongarth began to belch black smoke as she laboured against the accelerating stream. Down in the stern Captain King could feel the ship being pushed from side to side in the turbulence, and could see the stern tug Minegarth sheering from side to side trying to hold Conway on course. 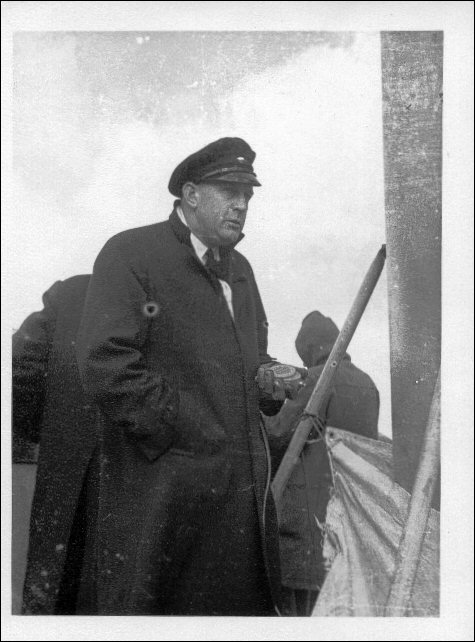 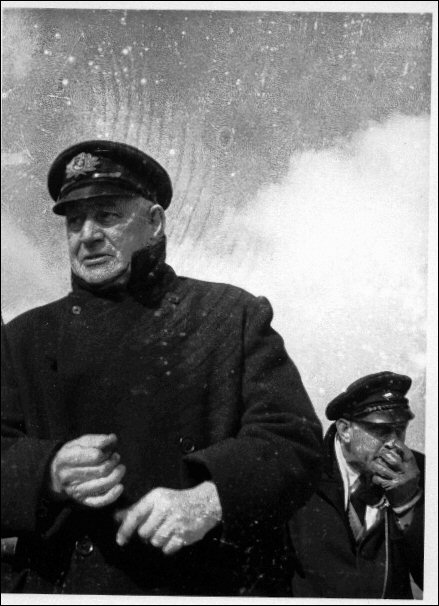 At 9.26 am the marker buoy on Cribben Rock was close aboard to port[12] - they were roughly midway between points 1c and 2c on the chart.[12] Cribben Gutter was cleared without incident. At point 2c as King peered out of a side port the trees on the shore seemed to be crawling by[7]. By the time Gored Goch was abeam Pilot Jones, believing the transit impossible[2] advised Captain Hewitt to reverse the role of the tugs and drop Conway back below Britannia Bridge to await the next tide. His advice was rejected. 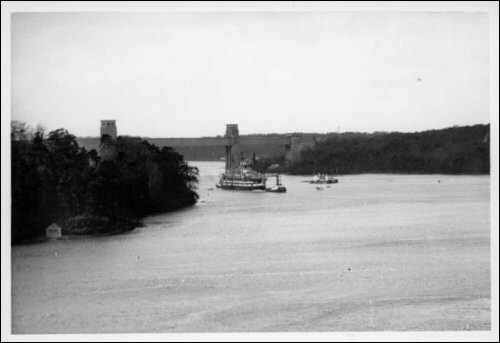 Price's Point Beacon (point 4c) was abeam to starboard at 9.35 am[4]. It had taken twelve minutes to cover a distance of 4 cables from Britannia Bridge. The timetable intended that by 9.35 (9.40 at the latest) they would have passed out of the Swellies. In reality they were still 300-400 yards short of the bridge[5] and almost at a standstill. |
||
| Page Last Modified (D/M/Y): 9/2/05 |