| |
Loss of the Ship
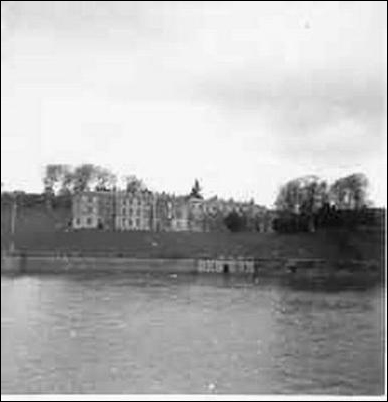
5. FROM PLAS NEWYDD TO PWLLFANOG

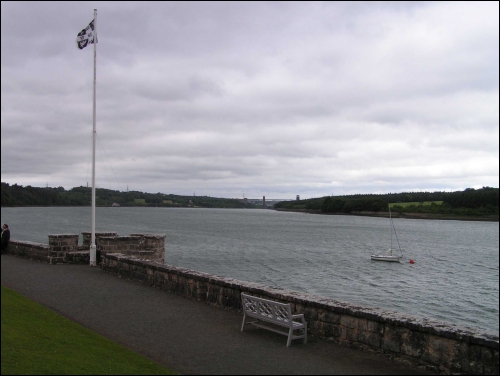
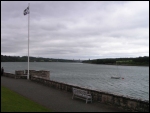
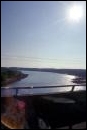
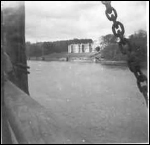
The first leg of
the transit was very simple. The ship had to be moved from her moorings
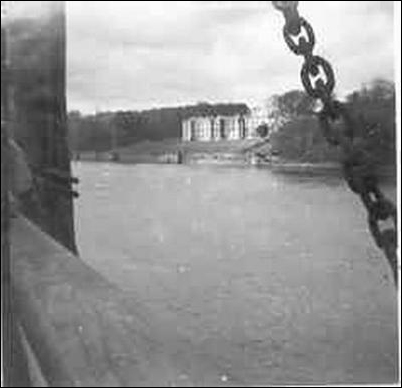
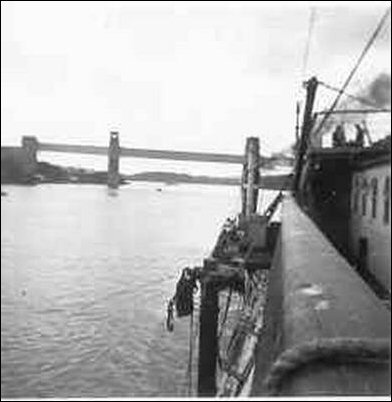
off Plas Newydd down towards the Britannia Bridge. The channel is wide
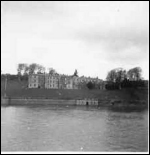
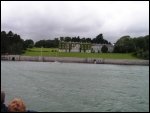
and deep as can be seen from these 2004 photos. The first is taken from Plas Newydd
(the piers of the Britannia Bridge can be seen in the distance). The second is looking back towards Plas Newydd from the new road deck on the Britannia
Bridge.
| 8.25
am[12] |
|
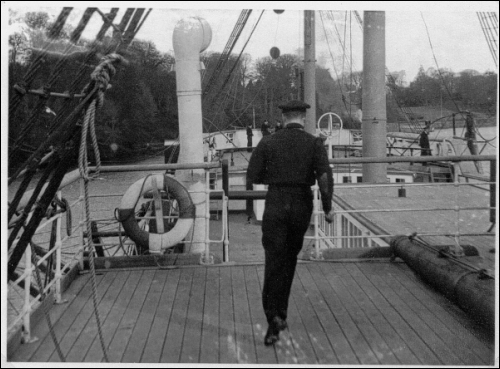
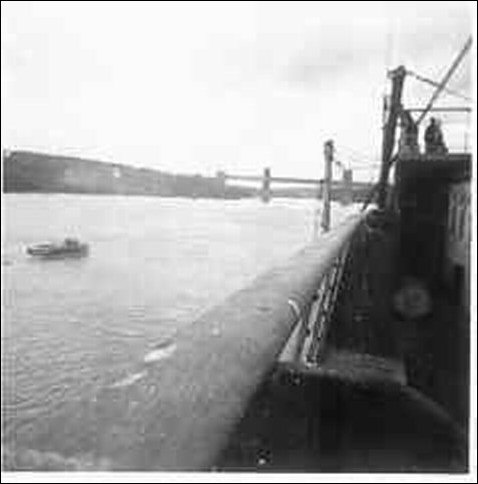
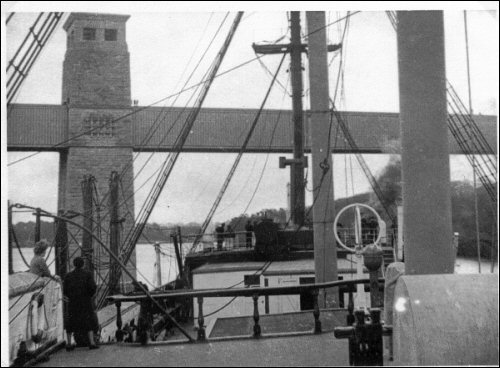
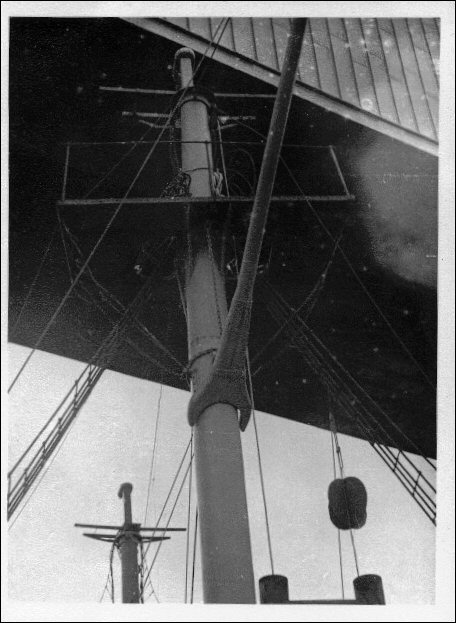
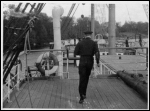
With the
ship stemming the northeast-going flood stream she was facing
in the wrong direction. This is confirmed by the photo below looking
aft which shows one of Brooke Smith's runners leaving the Fo'c'sle
and the Anglesey shore close on the left of the photo. The expanse
of gardens in front of Plas Newydd can just be discerned to the
right of the nearest mast.
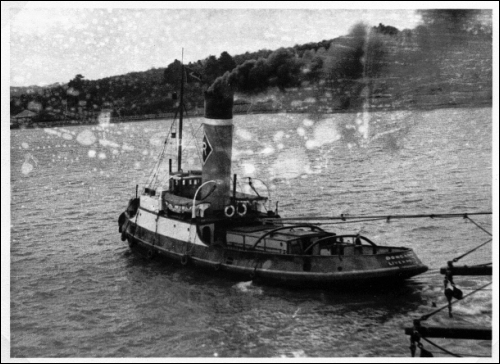
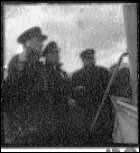
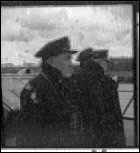
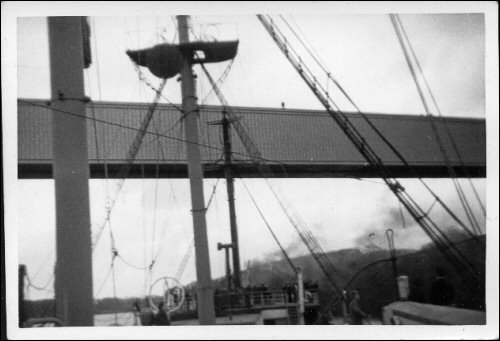
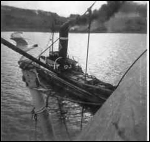
The ship therefore
had to be swung to face in the opposite direction before proceeding
and the photos below shows the forrad tug turning Conway prior
to moving off.
Cadets John Ellis
having assisted with the heavy work of casting off which
would have required all hands then went below and aft to
the starboard gangway where he left the ship and took charge
of the No 1 motor boat which was to follow the ship through
to Bangor towing the ship's three rowing cutters[16].
From this new "low on the water" vantage point he recalls
that the wind seemed quite strong.[17] His Lilliputian
replica of the main tow can be seen faintly astern of the
ship in a few of the photos in later sections.
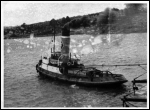
The later photos
show the ship was also accompanied by the pinnace, No 2
motor boat and the Menai pilot boat although I have not
been able to ascertain who was on board them. A number of
other small boats can be seen in some of the images. Captain
Durrant also left the ship and joined one of the boats as
far as Pwllfanog where he landed and went by road to the
Suspension Bridge [5]. He would have wanted to
be on the Suspension Bridge with a grandstand view when
Conway entered the Swellies. I suspect he used the Menai
pilot boat as it can bee seen racing ahead of the ship in
a photo below taken at 8.45.
|
| 8.31
am[12] |
|
With that
accomplished and a following tide she moved away with little effort
from the tugs[4]. Captain King remembers the moment
vividly, "To those ashore it must have presented a brave spectacle
and for those of us on board it was a moment of excitement and
exhilaration".[7]
On the shore the headmaster Mr. Browne
along with Captain Goddard (the Conway's previous Captain Superintendent
who had brought the ship from Bangor to Plas Newydd), Mr. Alfred
Wilson (Management Committee member) and Dr Wilson Read (the ship's
honorary medical officer) watched her depart before driving to
the banks of the Swellies outside Menai Bridge where they would
have a grandstand view of the passage[6]. The Marquis
of Anglesey's blue and gold pennant on Plas Newydd dipped in salute
as the ship passed. Conway's ensign dipped in acknowledgement.
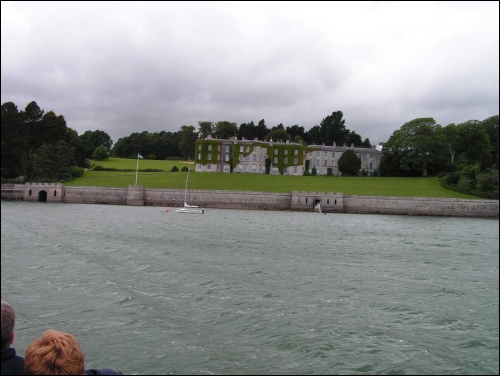
The scene on the left was almost
unchanged 51 years later in June 2004:
Almost immediately Captain Miller
found difficulties communicating with the stern tug. Conway could
transmit messages to Minegarth but could not receive them from
her, so whistle and simple semaphore signals were adopted as agreed[1]. |
| 8.45
am |
|
The
Inquiry noted that "The passage to the Britannia Bridge was
uneventful, the tugs towing easily to arrive at the bridge at
the agreed time of 8.45am." This observation was slightly
misleading. The actual point of arrival was Pwllfanog Creek some
distance short of the bridge on the Anglesey shore (the left hand
shore above).
|
| 8.50[12] |
|
Captain
Hewitt ordered that the ship be stopped and held in position.
As the ship came to a halt the stern tug took up the strain against
the flow and held her in position. Captain Hewitt would hold the
ship in this position and then set off so as to pass under the
Britannia Bridge at 9.20am, exactly on schedule.
Pilot Richard Jones was of course watching
the water. The northeast-going stream would have been weaker than
usual, suggesting that when the stream reversed direction the
contrary stream was likely to be a lot stronger than anticipated
by the planning Committee. He recommended that the ship proceed
immediately[11]. Captain Hewitt's overriding concern
however was the depth over Cheese Rock, which his calculations
(based on false parameters) suggested would not equal the draft
of the ship before 0920[TwoBdge-12](apart
from any effect of the wind, and unknown to Capt Hewitt, the ship
had better than her own draft over the rock as early as 0840 that
morning.)[TwoBdge-11]
Given the many months of quite unprecedented planning which reflected
the obvious concern about the very feasibility of the outward
transit, perhaps the most astonishing fact to emerge was that
all that planning had been purely theoretical, and no thought
had been given to correlating soundings over Cheese Rock with
the nearby tideboard which would have eliminated all the guesswork.[TwoBdge-13]
Instead, on the day Capt Hewitt adhered rigidly to his Committee's
timetable and told the pilot: "The ship goes under the bridge
at 0920 hours and not one moment before".[11]
The only opportunity the ship would have of making the transit
that day had been lost.
With the ship waiting for her allotted
time we can quickly examine the passage she was about to attempt. |
 |
|
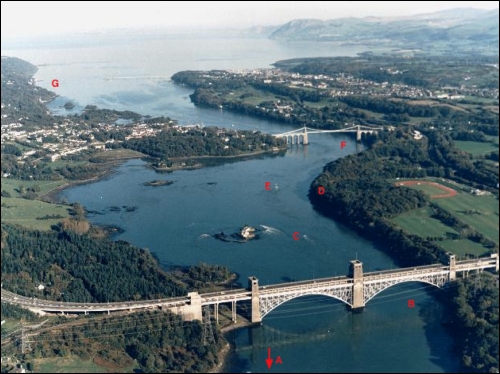
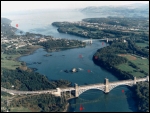
Starting
at the left side of the above chart the ship was now held in position
to the left of the Britannia Bridge (in fact just off the chart)
close to the northern shore. On the photo she was at position
A (in red) just off the picture. The passage can be described
in a number of legs:
- They had first to cross from the northern
to the southern shore to enter the main channel between the
southernmost of the two arches of the bridge. Point 0c on the
chart, marked B on the photo.
- They then had to pass safely over
the first major hazard, Cheese Rock, midway between points 0c
and 1c on the chart.
- A cable's distance from the bridge
to the marker pyramid on the Gwynedd shore they would shape
course slightly to port (the left), midway between points 1c
and 2c on the chart to line up on the transit markers which
defined the safe passage through Cribben Gutter past Cribben
Rock. The top of the rock is just breaking the surface at point
C on the photo but on the day it would have been completely
submerged. The navigation channel is to the right of point C
along the wooded bank.
- At Price's Point (4c on the chart,
D on the photo) she had to haul out to clear off lying dangers
before making a sharp alteration to starboard (the right) to
bring the large chimney on the house 'Garnet' just open northwards
of the southern pier of the Suspension Bridge and so clear Swelly
Rock (marked E on the photo).When that was astern (after point
5c on the chart), and when with the cross on Llandesillio island
just forward of the beam, haul out again to make offing past
the Platters until the boathouses on the mainland were abeam
before steering to pass under the centre of the Suspension Bridge
(F on the photo). All this within eight ship's length, which
with the degree of control needed in the narrow channels presented
an obvious challenge for tugs on long scope single hawsers.
- She would then be clear of the
Swellies and free to navigate the much wider and fairly straight
channel to her temporary mooring at Glyn Garth (G on the photo)
off Bangor pier, also just visible in the photo.
|
| 9.08
am[12] |
|
Captain
Hewitt gave the order for the forward tug to resume headway. Captain
Durrant's report states that the tugs held her off Pwllfanog from
from 8.45 am to 0915 am.[5] The Log Book records from
0850 until 0908.[12]
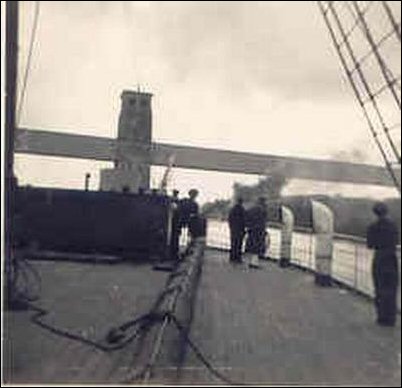
The ship was close to the Anglesey shore
and had to work across to the Caravans side in order to line up
for the very narrow passage under and beyond Britannia Bridge
. As they passed by the buildings of the TS Indefatigable on the
Anglesey shore her colours dipped in salute.[7] It
was fitting that Conway's last acknowledgement came from "Indefat".
The two ships' fates had always been intertwined. They had long
been neighbours on the Mersey and "Indefat" had preceded Conway
to the safety of the Menai Strait during the war. Her own vessel
had long since been relinquished and she had become a shore establishment.
The statue of Admiral Lord Nelson on
the Anglesey shore (erected by one of the Marquis of Anglesey's
naval forbears) looked on as Conway's figurehead - also of Admiral
Lord Nelson passed by.
The tugs manoeuvred the ship across
the Strait and aligned her to pass between the right hand towers
and into the Swellies i.e. from point A to point B on the photo.
Note that since 1953 the Bridge has had an extra deck added along
with supporting metal arches.
|
| 9.23
am[12] |
|
Just 3 minutes
later than Committee's 'timetable' Conway's bow passed quietly
under the bridge at point 0c on the above chart, B on the photo.[12]
Captain Hewitt drew the pilot's attention to their being
three minutes late. The pilot answered that they were early rather
than late,[4] a strange observation given that the
pilot had wanted them to proceed much earlier.
Captain Durrant reported the north westerly
wind had freshened considerably and it was noted "by a local
pilot stationed under the Britannia Bridge" that the anticipated
10 minute slack water period did not materialise. The south going
ebb stream set in immediately at 9.20 am[5]. The identity
of this "local pilot" has never been established. The only two
local pilots were part of the tow and no arrangements had been
made to have anyone standing under the bridge. 'Taffy' Oliver,
one of the ship's Warrant Officers, who had charge of the Water
Boat on her trips through the Swellies to Bangor during the long
drought of Summer 1950 was also credited with being a local pilot
so it might have been him. However no arrangements had been made
in their planning to station anyone under the Bridge. |
--Previous Section | Introduction | Next Section --
|
|